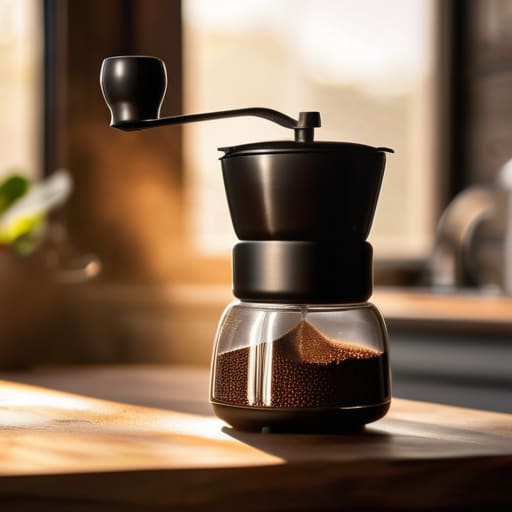
People love to talk about the “unboxing experience” or the surgical precision of new burrs, as if a piece of stainless steel is going to magically fix your bad brewing habits. They’ll sell you a dream of clarity and brightness, but most of the time, you’re just paying for a shiny box. I spent the first week with a new grinder waiting for that life-changing moment where the acidity suddenly popped or the body became velvet. Instead, I mostly just spent my mornings fighting with a calibration dial and wondering if I was actually tasting anything different or if I was just drunk on caffeine.
I’m not here to recite a spec sheet or tell you that this machine is a masterpiece of engineering. I’ve spent seven days actually brewing with it, adjusting my dose, and tasting the results. My promise is simple: I will tell you if the flavor actually changed, or if you’re just wasting your money on expensive hype. If the cup tastes the same as it did yesterday, I’ll say so. No fluff, no marketing nonsense—just what happened in my kitchen.
Understanding the First Week With a New Grinder
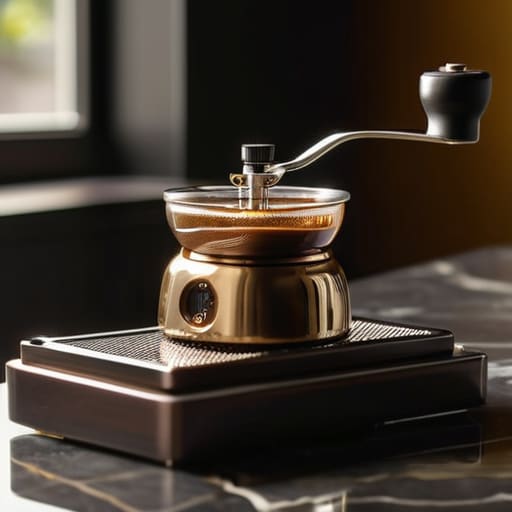
The first few days were mostly about fighting my own muscle memory. I’ve spent years dialing in shots on professional machines, so stepping back into my kitchen with a new piece of gear felt strangely humbling. You can’t just twist a knob and expect magic. Instead, I spent most of my mornings focused on adjusting grind size for espresso, trying to find that sweet spot where the flow stops looking like a leaky faucet and starts looking like liquid gold.
It’s not just about the numbers on the dial, though. I noticed that coffee bean freshness and grinding play a much bigger role than the manual suggests. A bag of beans from last month behaves completely differently than the roast I opened yesterday. I spent a lot of time observing the output, looking for a consistent grind particle distribution rather than just trusting the manufacturer’s claims. If the bed looks uneven in the portafilter, the flavor follows suit—bitter, uneven, and frustrating. I’m not looking for perfection yet, just a baseline that doesn’t taste like burnt toast.
Key Things to Know
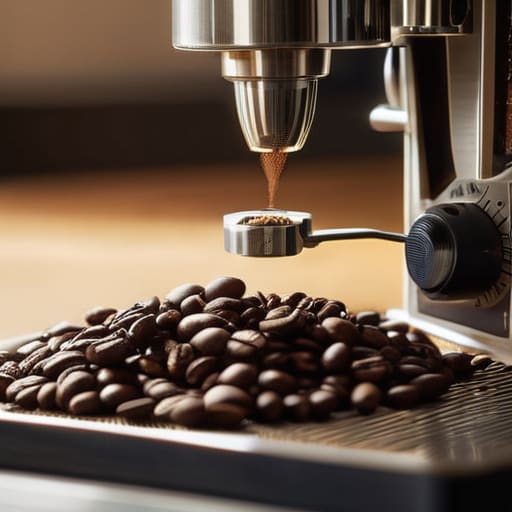
First, forget everything you think you know about “dialing in.” A new machine isn’t a magic wand; it’s just a new set of variables. During these first few days, you aren’t looking for the perfect shot—you are actually just understanding grind settings and how they map to your specific beans. Every grinder has its own quirks. One might jump from a fine espresso to a medium drip with just a single click, while another feels like it needs a dozen turns to move the needle.
You also need to watch for consistent grind particle distribution. If your new gear is producing a mix of boulders and dust, your extraction will be a mess regardless of how much you tweak the dial. I spent most of Tuesday morning just looking at the grounds on my scale, checking if they actually looked uniform.
Lastly, don’t ignore the relationship between coffee bean freshness and grinding. If you’re using beans that have been sitting in a bag for three months, a five-hundred-euro grinder won’t save you. You’ll just be precisely grinding stale coffee.
Practical Tips and Steps
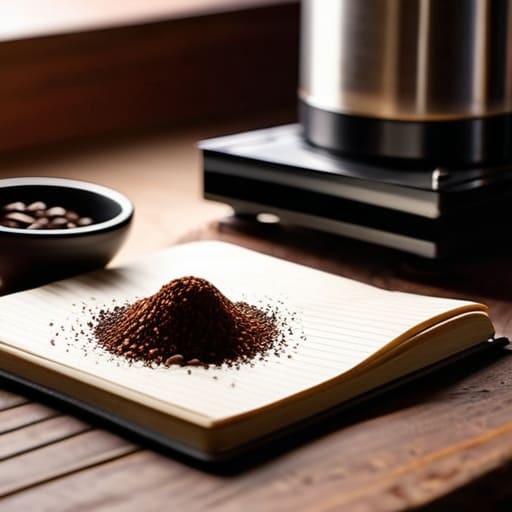
Don’t try to find the “perfect” setting on day one. You’ll just end up frustrated and caffeinated. Instead, focus on understanding grind settings by moving in tiny increments. If you’re pulling shots, spend your morning adjusting grind size for espresso by just one notch at a time. If the shot flows like water, go finer. If it chokes the machine, go coarser. Write it down. If you don’t track it, you’re just guessing, and guessing is how you waste expensive beans.
Also, keep an eye on your workflow. A new machine often feels smoother, but that can lead to laziness. I’ve learned that consistent grind particle distribution is more important than the fancy metal the burrs are made of. If your dose is messy, the flavor will be messy too. Lastly, don’t ignore the little things. A bit of routine burr grinder maintenance—like a quick brush-out after a session—prevents old, stale grounds from ruining your fresh roast. Keep it simple. Just watch the cup, not just the dial.
Common Mistakes to Avoid
The biggest mistake I see is people treating a new machine like a magic wand. They buy a high-end unit and expect perfection on day one. It doesn’t work that way. Most beginners skip the crucial coffee grinder calibration process and immediately start chasing recipes they saw online. They change the beans, the water, and the temperature all at once. If your shot tastes sour, you won’t know if it’s the new burrs or just a bad roast. Pick one variable. Stick to it.
Another trap is neglecting the physical reality of the machine. People get so caught up in understanding grind settings that they forget about the mess. I’ve seen too many people let old, oily grounds build up in the chute because they were too busy obsessing over micron counts. It ruins the flavor. Also, don’t assume “finer” is always better. I’ve spent many mornings dialing in a new setup only to realize I was over-extracting because I was too scared to go coarser. Slow down. Let the machine settle into your routine before you start making drastic changes.
Final Thoughts
At the end of the day, a new piece of gear is just a tool. I spent seven days obsessing over every micro-adjustment, trying to find that perfect sweet spot. What I learned is that the most important part isn’t the shiny metal or the brand name; it’s the consistent grind particle distribution you get once you actually learn the machine. If you aren’t getting a uniform texture, you’re just wasting expensive beans.
Don’t get discouraged if your first few shots taste like battery acid or sour juice. Part of the ritual is just understanding grind settings and how they react to different roasts. I found myself constantly tweaking the dial, moving from espresso to pour-over, just to see where the limits were.
My advice? Stop reading the manual and start brewing. Focus on the relationship between coffee bean freshness and grinding precision. If the flavor doesn’t jump out at you after a week of dialing it in, it might not be the grinder’s fault—it might just be the beans. Or maybe you just need more caffeine.
The Bottom Line
After seven days of dialing in, the verdict is simple. A new grinder isn’t a magic wand that fixes bad beans, but it is the most important tool for consistency. I spent the week chasing tiny adjustments, moving the collar by mere microns and adjusting my dose to compensate for the new burr geometry. I learned that the first few days are mostly about unlearning old habits and realizing that my previous “perfect” recipe was actually just a lucky guess. If you focus on one variable at a time and don’t chase every marketing claim, you’ll eventually find that sweet spot where the flavor actually makes sense.
At the end of the day, don’t let the obsession with gear turn your morning ritual into a chore. I’ve seen people spend thousands on grinders only to rush through their brew because they’re too busy staring at a digital display. The gear is just a means to an end. The real goal isn’t to own the most expensive burrs on the market; it’s to sit down, take a sip, and realize that the cup tastes exactly how you wanted it to. If the coffee is good, the grinder has done its job. Everything else is just noise.