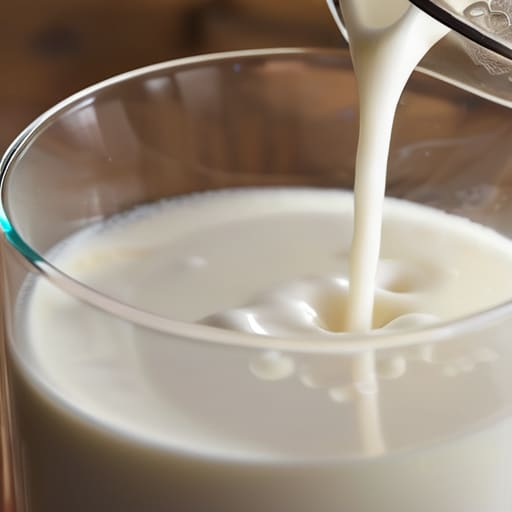
I spent eight years behind a bar, surrounded by high-end La Marzoccos and enough steam pressure to power a small city. So when I see people online claiming you can get cafe-quality microfoam using a plastic whisk and a battery-operated stick, I roll my eyes. Most of those “hacks” for frothing milk without a steam wand result in nothing more than a cup of hot milk topped with uncontrolled soap bubbles. It’s not latte art; it’s a mess.
I’ve spent the last week in my own kitchen testing the methods that actually work. I tried the French press, the hand whisk, and even the jar-shake method to see which ones actually change the texture of the drink. I’m not here to sell you a $50 gadget or pretend a cheap gadget is a miracle worker. I’ll tell you exactly which methods yield a creamy mouthfeel and which ones are just a waste of your morning.
Understanding Frothing Milk Without a Steam Wand
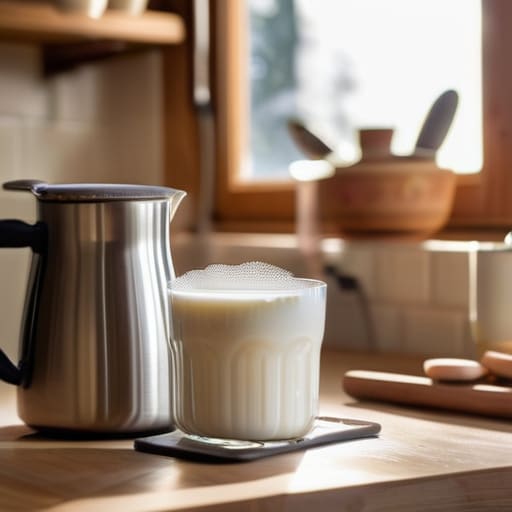
Look, we need to be honest about what we’re actually trying to do here. When you’re standing in a cafe, that steam wand is doing two things at once: heating the liquid and injecting air. Without the machine, you’re usually only getting one of those. Most people think they’re looking for manual latte art techniques, but without the heat, you’re just drinking cold, bubbly milk.
If you’re using a handheld milk frother vs a whisk, you’re essentially just fighting physics. A whisk is great for making a quick foam for a mocha, but it’s too aggressive. It creates big, soapy bubbles that collapse in seconds. On the other hand, french press milk frothing is much more controlled. It allows you to manipulate the air bubbles more precisely, which is the only way you’ll get close to that silky texture.
The real goal isn’t just bubbles; it’s creating microfoam without an espresso machine that actually feels integrated into the drink. You want the milk to feel like velvet, not like you’re drinking a cloud of soap suds.
Key Things to Know
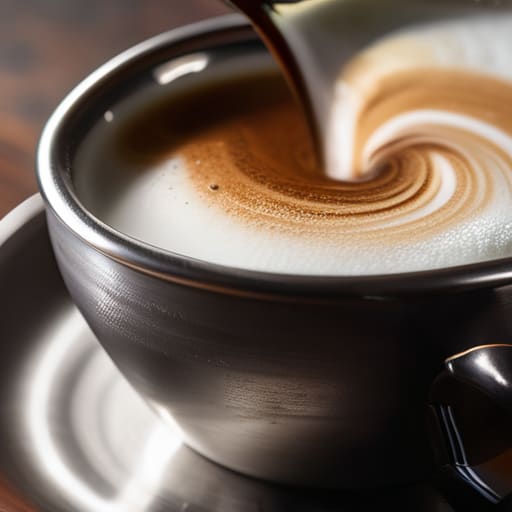
First, let’s talk about the physics of it. You aren’t actually “frothing” in the professional sense; you are just forcing air into liquid. If you want something that feels like a real latte, you need to understand the difference between big, soapy bubbles and true microfoam. When creating microfoam without an espresso machine, your biggest enemy is temperature. If the milk gets too hot—past 70°C—the proteins break down, the sweetness vanishes, and you’re left with something that tastes like scalded paper.
Next, choose your weapon. I’ve spent far too much time testing the handheld milk frother vs whisk debate in my own kitchen. The little battery-operated wands are great for a quick fix, but they often struggle to create a consistent texture. On the other hand, if you want to go old-school, french press milk frothing is surprisingly effective. It requires more arm strength, but the control you get over the bubble size is much better. Just remember: the goal isn’t to make a mountain of foam, but to integrate that air into the milk so it pours like wet paint.
Practical Tips and Steps
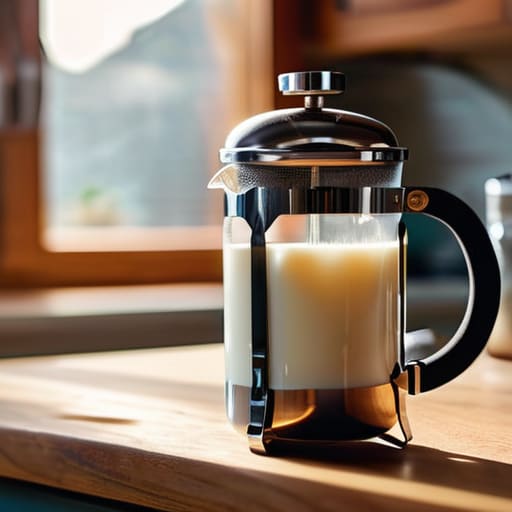
If you’re going the French press route, don’t just plunge and hope for the best. Start by heating your milk—not boiling, just steaming hot to the touch. If you overheat it, the proteins break down and you’ll never get that silky texture. I’ve found that french press milk frothing works best when you do the heavy lifting in stages. Start with small, rapid pumps to introduce air, then switch to long, slow strokes to integrate those bubbles. If you stop too early, you just end up with a layer of stiff foam sitting on top of liquid milk, which is more of a cappuccino mess than a latte.
For those who prefer the battery-operated route, the handheld milk frother vs whisk debate is real. The little wand is faster, but it can be finicky. To get actual microfoam, you have to tilt the pitcher slightly so the vortex actually forms. I tried using a standard kitchen whisk last Tuesday; it’s a workout for your wrist and the foam was way too airy. If you want that creamy mouthfeel, aim for a consistent whirlpool rather than just splashing the surface.
Common Mistakes to Avoid
First mistake? Using milk that is already cold. I’ve seen people try aerating milk with a jar straight from the fridge, and it’s a disaster. You won’t get any volume, just a thin, watery liquid that separates immediately. Heat is your friend here. Get it to about 60°C—warm enough to feel, but not so hot that it smells like cooked eggs. If you scald it, you lose the sweetness, and no amount of technique can fix a burnt cup.
Another trap is getting caught up in the gear war. People spend twenty euros on a cheap battery-operated wand only to realize a handheld milk frother vs whisk comparison isn’t even fair; the whisk is often better for texture if you have the patience. Don’t just mash the wand into the liquid and call it a day. If you don’t introduce air at the start to create the structure, you’ll never achieve that silky texture. You’ll end up with big, soapy bubbles instead of the microfoam you actually want. It’s frustrating, but it’s a learning curve.
Final Thoughts
At the end of the day, none of these methods will ever give you that perfect, silky texture of a professional cafe. If you’re looking for flawless manual latte art techniques, you’re probably going to be disappointed. However, if you just want a decent flat white before work without cleaning a steam wand, these hacks do the job. I’ve spent more time than I care to admit testing the difference between a handheld milk frother vs whisk, and honestly? The whisk is more consistent if you have the patience for it.
Don’t overthink the gear. I used to think I needed a specific brand of pitcher to get decent results, but it’s mostly about the temperature and the milk itself. Using whole milk is still your best bet for creating microfoam without an espresso machine. If you can get the temperature right, the fat does most of the heavy lifting for you. It’s not perfect, but it’s better than black coffee on a Tuesday morning, and that’s really all that matters.
The Bottom Line
Look, we’ve covered a lot of ground. Whether you’re using a French press to create texture or a handheld whisk to get things moving, the goal remains the same: avoiding that thin, watery mess. We talked about temperature, the importance of starting with cold milk, and why over-aerating is the fastest way to turn a latte into a cup of soapy bubbles. If you follow the steps and keep your movements steady, you’ll get close enough to what I used to pull behind a professional bar. It won’t be perfect every single time, but it’s a massive step up from just pouring cold milk into a shot of espresso.
At the end of the day, don’t let the lack of a high-end machine stop you from enjoying a decent drink. I spent years surrounded by expensive steam wands and polished chrome, but the truth is that the ritual matters more than the gear. If you have a decent bean and a bit of patience, you can make something beautiful in a chipped ceramic mug in your own kitchen. Coffee shouldn’t be a chore or an expensive gatekept secret. Just brew it, make it work with what you have, and actually enjoy the taste of what you’ve made.