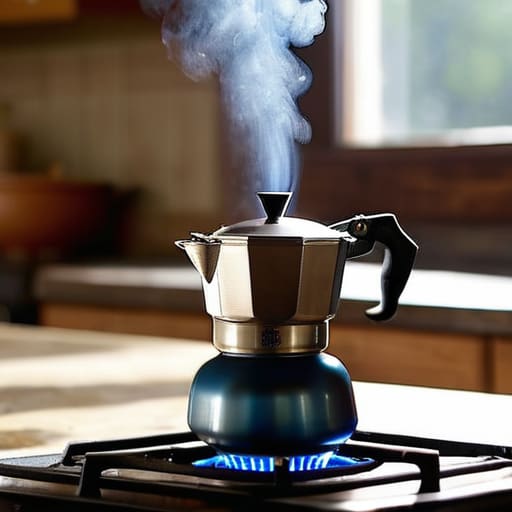
I spent years behind a bar watching people treat coffee like a chemistry exam, but nothing frustrates me more than the “gear worship” surrounding the Moka pot. People buy these expensive, precision-engineered stovetop brewers only to ruin the whole thing by blasting the flame like they’re trying to forge a sword. They think more heat equals more strength, but they’re just making a bitter mess. I’ve learned the hard way that the secret isn’t in the price tag of the pot; it’s about mastering the moka pot and the heat it needs to actually taste like coffee instead of ash.
I’m not here to sell you a fancy thermometer or a digital induction cooktop. I just want to tell you what actually worked in my kitchen this morning. I’ve spent the last week testing different flame heights and water temperatures to see which ones actually change the flavor and which ones are just waste of time. I’ll show you exactly how I manage the heat to get a clean, sweet cup without the burnt aftertaste. No hype, just what actually shows up in the cup.
Understanding the Moka Pot and the Heat It Needs
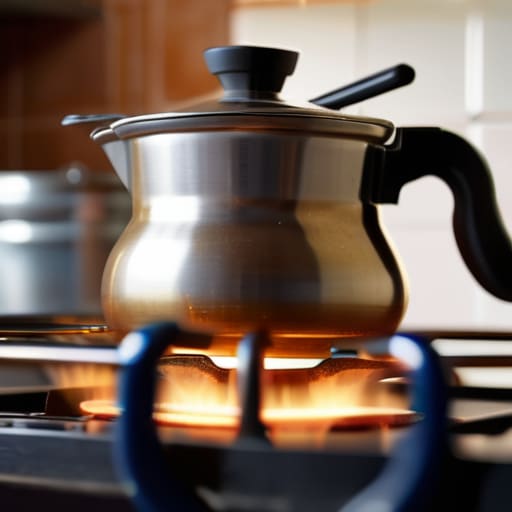
Most people treat a moka pot like a simple stovetop kettle. You turn the knob to high, wait for the gurgle, and call it a day. That’s a mistake. The moka pot isn’t just boiling water; it’s a pressurized system that relies on a delicate balance of thermodynamics. If you blast it with maximum heat from the start, you aren’t just speeding things up; you’re essentially scorching the grounds before the water even makes its way through them.
The goal is a steady, controlled climb. I’ve found that if you manage your moka pot stove heat settings by starting medium and dropping it low once the pressure builds, the magic happens. You want the water to move through the basket at a pace that feels intentional, not a frantic sprint. If it comes out in a violent rush, you’ve likely missed the mark on preventing bitter moka pot coffee. I’ve wasted plenty of expensive beans by being too impatient. When the flow is slow and syrupy, you know you’ve actually mastered the heat.
Key Things to Know
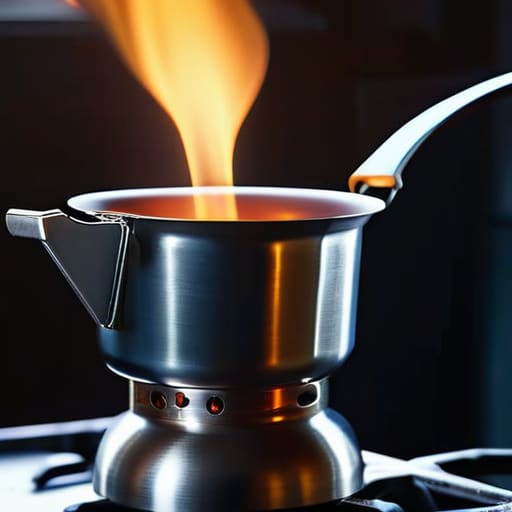
First, forget everything you know about pour-overs. In a V60, you control the temperature with a kettle. In a Moka pot, you are at the mercy of the flame. The metal body acts like a heat sponge, soaking up energy and dumping it into your grounds whether you like it or not. This is why most people fail; they treat it like a tea kettle. If you don’t manage the moka pot stove heat settings, you aren’t brewing coffee, you’re just scalding it.
I’ve spent too many mornings staring at a pool of dark, acrid liquid because I was too impatient to turn the flame down. To avoid this, you need to focus on controlling moka pot brew speed. If the coffee starts gushing out of the center column like a broken fire hydrant, you’ve already lost. Slowing down that flow is the only way of preventing bitter moka pot coffee that tastes like an ashtray. It’s a delicate balance between keeping the pressure up and not letting the internal temperature spike into the danger zone.
Practical Tips and Steps
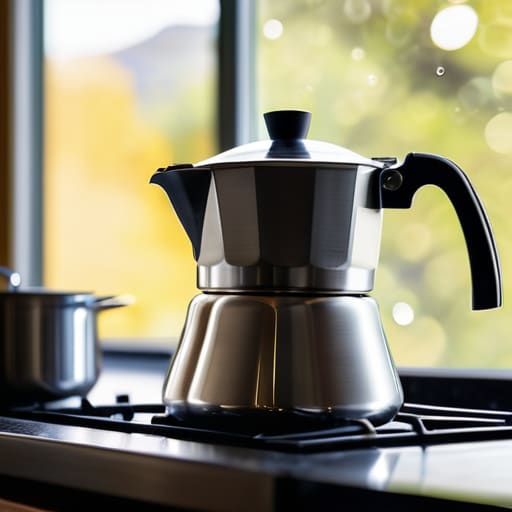
Start with hot water. I know, it sounds like an extra step, but it’s the easiest way to handle moka pot overheating prevention. If you start with cold water in the base, the metal sits on that flame for way too long just waiting for the boil. By the time the coffee actually starts flowing, you’ve already baked the grounds. Using pre-heated water keeps the process fast and helps in preventing bitter moka pot coffee that tastes like a charcoal briquette.
Once it’s on the stove, keep the flame low. I usually turn my burner down to the smallest setting. You want a slow, steady stream, not a violent eruption. If the coffee starts spraying out like a fountain, your moka pot stove heat settings are way too high. I’ve learned that controlling the brew speed is really just about managing that heat. As soon as the color turns from a deep brown to a pale, honey-like yellow, kill the heat immediately. Don’t wait for it to finish sputtering; just pull it off and run the base under cold tap water to stop the extraction right there.
Common Mistakes to Avoid
The biggest mistake I see? People treating the stove like a light switch. They turn it to maximum, expecting the magic to happen faster. It doesn’t. You just end up with a violent, sputtering mess that tastes like a campfire. If you aren’t careful with your moka pot stove heat settings, you’ll boil the coffee grounds before the water even makes its way up. This is the fastest way to ruin a perfectly good bag of beans.
Another one is ignoring the temperature of the water you put in the base. I used to use cold tap water, thinking it didn’t matter. It matters a lot. If you start with cold water, the metal sits on that flame for way too long, cooking the coffee dry before the extraction even begins. To avoid that harsh, metallic bite, try starting with hot water. It’s a small tweak, but it’s essential for preventing bitter moka pot coffee and keeping the flavor clean. Don’t let the heat do the work for you; you have to guide it.
Final Thoughts
At the end of the day, there isn’t a magic number you can memorize. I spent three years behind a bar where we had everything dialed in, but at home, it’s always a bit of a dance. You’ll find your own rhythm with moka pot stove heat settings through trial and error. Some mornings I want it fast and punchy; other days, I want to slow things down to avoid that harsh, metallic edge.
If you find yourself constantly fighting a cup that tastes like ash, you’re likely dealing with moka pot overheating prevention issues. It’s usually just a matter of pulling the pot off the flame a few seconds too late. Don’t overthink the expensive thermometers or the fancy manuals. Just listen to the sound of the brew. When it starts to sputter and hiss, it’s time to move. That’s the moment where the real magic happens—or where you ruin it. Either way, it’s just coffee. Grab a glass of water and try again tomorrow.
The Bottom Line
At the end of the day, the moka pot isn’t some mystical ritual that requires a laboratory setup. It’s just a bit of metal and physics. If you remember to use hot water in the base, keep your flame low, and pull it off the heat the second that first bubble of foam hits the spout, you’ve already won half the battle. I spent way too many mornings chasing a “perfect” brew by buying expensive thermometers, only to realize that watching the flow tells you more than any digital readout ever could. Stop overcomplicating the science and just control the temperature through your eyes and ears.
Don’t get discouraged if your first few pots taste a bit harsh or metallic. I still mess up more often than I’d like to admit, usually because I got distracted by a podcast and let the heat run too long. Coffee is meant to be enjoyed, not studied until it becomes a chore. If you can master this one little variable, you’ll find that your cheap stovetop setup can actually rival the expensive machines I used to see in specialty cafes. Grab your pot, turn the dial, and just start brewing. The best cup is the one you actually get to drink while it’s still warm.